
Mirror Mirror on the wall, what’s the weather forecast for Montreal?
In today’s segment of Frank’s Garage we are creating a helpful assistant based off the classic fairytale Magic Mirror. Learn how to program custom responses, and display information how you want to see it using a Raspberry Pi.
Follow along with the video to create your own mirror. Don’t hesitate to reach out if you have questions, tips, or want to show us your creation.
We look forward to seeing you in the next video!
Project Materials
So, you’re ready to create your own Magic Mirror? I’ll walk you through the steps I used to create mine. I’ll warn you though, if you are not familiar with Linux, Python, C and Java, you will need to stick closely to our instructions.
These instructions are based on use of a Windows PC with instructions for either wireless or (more preferred) wired internet access, and a Raspberry Pi to serve data to your Magic Mirror.
You should already have acquired the following:
- Raspberry Pi 3B (we have not tested this on a newer version)
- A 32 gig memory card (a smaller one will work at first, but you’ll use a lot of memory before this project is done)
We are going to be using the MagicMirror2 software as our base tool. You can look over the specifications of this open-source program here.
You will also need to gather and install several software tools if you have not already done so. A list and download URL follows. This seems like a long list which can be intimidating, but it was not so hard when I went through the process and you will likely find the same to be true.
When downloading and installing some of these packages, they are going to need to be 32 bit or 64 bit. Please select what is appropriate for your PC. I am running Windows 10 64 bit and so all of my selections were 64 bit.
- First you need an installed version of Noobs. You can get a pre-installed SD card with several operating systems from Amazon or you can get an “image” file of the same thing from here and then install it as an image yourself. This will require some additional software we will discuss next.
- Next you will need software to write an “image” file to your SD card. This will be used when we install our Raspberry Pi operating system above and it will be used to back up your Raspberry Pi as you have more time invested in its creation. The software I use is Win32DiskImager.
- Next you will need a program to communicate with the Raspberry Pi operating system remotely (an SSH and Telnet client). I normally use Putty.
- Last you will need a Virtual machine viewer to look at your Raspberry Pi from your PC. I use RealVNC viewer for this.
- You will need an SD card Formatter. I got mine from https://www.sdcard.org/downloads/formatter/index.html.
So, assuming you were able to download the above and go through the basic installations, let’s start the process to fire up our brand-new Raspberry Pi.
Typically, there many ways to do everything on a Raspberry Pi. I am simply going to be providing those process that worked for me. If you have found a better way, please feel free to share!
Since I started this process as a learning experience, I chose purposely not to take short cuts that auto installed some software for me but would to be limiting moving forward. We will discuss some of those decisions moving forward and the results we had when testing
It is very important to start with a totally blank SD card. To do this you could open your control panel and start “Administrative tools” then “Component Management” and on the left side select “Disk Management”.

As you can see, you will get a picture of your PC’s installed drives. My Disk 8 at the bottom is my intended SD card and as you can see it is divided up into many small partitions. These need to be removed by right clicking on each one and selecting “Delete Partition”. Be very sure you are working on the correct disk as this deletes the partition and any data contained on it. When you are done you should have the entire disk in one block and it should say unallocated.
For the first step we need to get an operating system installed on the Raspberry Pi. A helpful link for doing this is at https://projects.raspberrypi.org/en/projects/raspberry-pi-setting-up/2
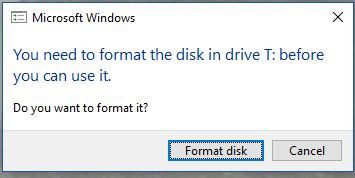
Setup is normally done by downloading the above-mentioned Noobs “image” and putting it on a SD card. I will first load my blank SD card into a reader on my PC. When I do so, a response such as the following is not uncommon. Select Cancel…..
Start your SD Format program and you will get a window like this:
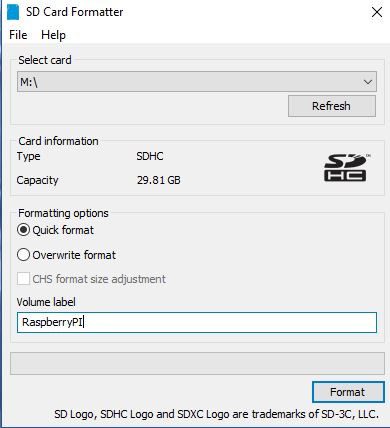
Again, be very sure you are formatting the correct drive!
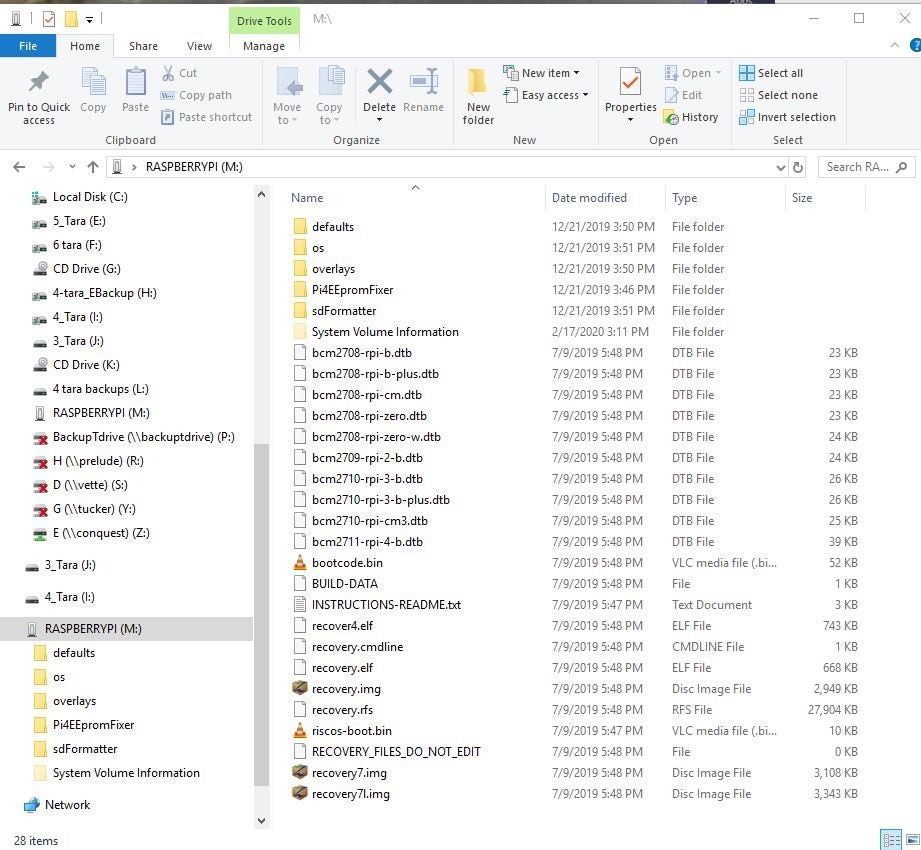
Once the drive is formatted, you should copy all the files that you received with the Noobs software onto the SD drive. Your new SD drive should look something like the following:
Now that you have a bootable SD card you might want to back this up, so you do not have to go through the process again later. You can use this same process to save your SD card as we go through additional software installs.
Start your Win32SiskImage software. You should get a Window like this:
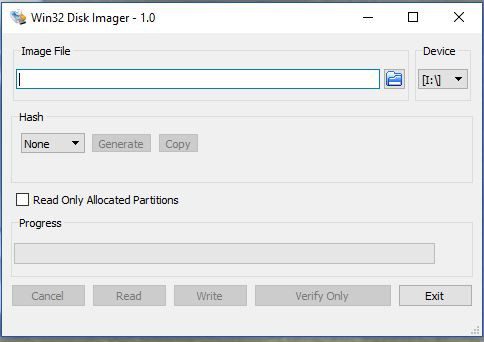
Select Device. This should be the drive letter of your SD card. In my case that ended up being the M:.
Next select an Image file. This can be named anything and be in any directory. My SD card is ready to copy as shown below. This process took about 30 minutes on my PC, so be patient.
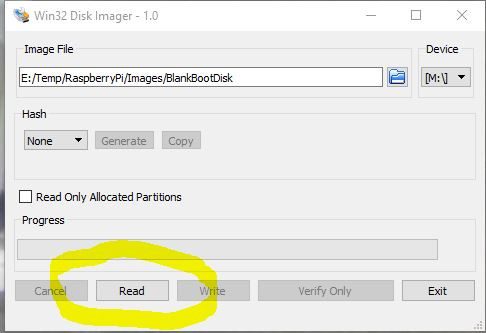
You now have an “image” of your SD card in a file on your PC’s hard drive. You can re-insert your SD card at any time in the following steps and make a backup of its state. I encourage you to do so.
Now we are ready to actually start your Raspberry Pi using the SD card. There is an excellent step by step guide for doing this at https://projects.raspberrypi.org/en/projects/raspberry-pi-setting-up
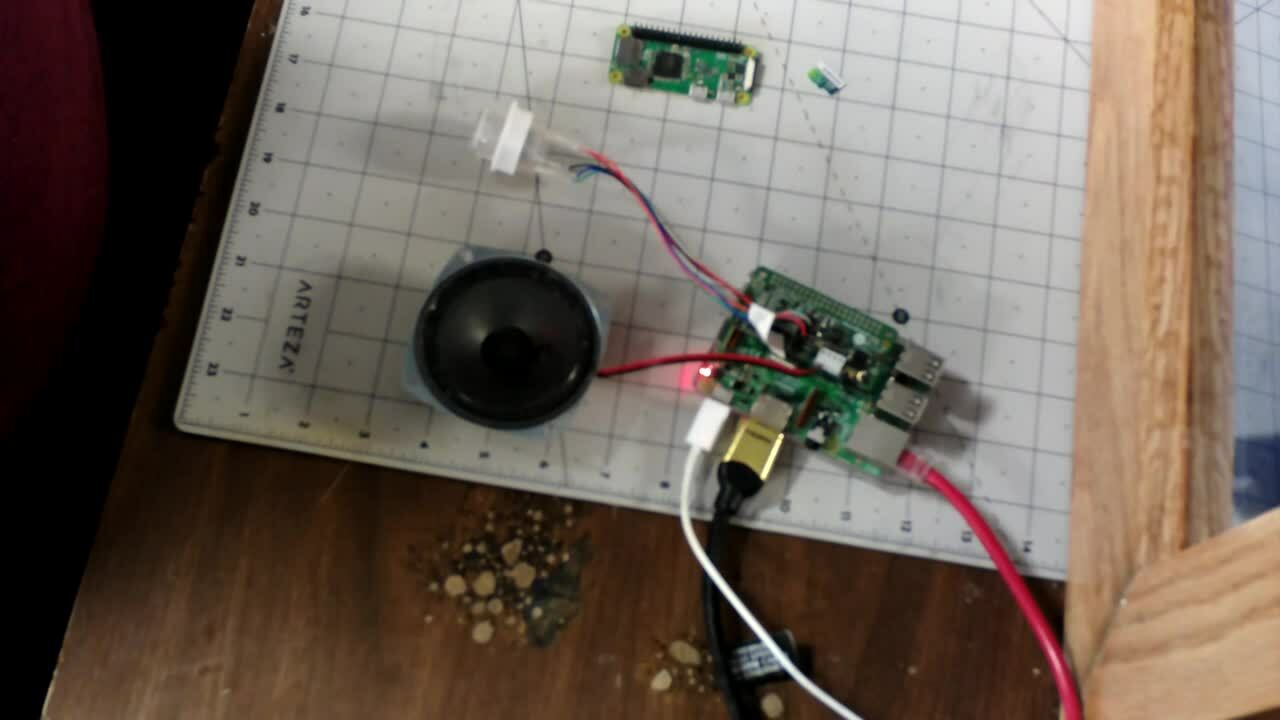
So first unplug the Raspberry if it’s not already unplugged, and put your SD card into the appropriate connector, keeping the gold pins on the SN card closest to the PC board. Make sure it’s inserted all the way in.
To get started your Raspberry Pi must be hooked up with a USB mouse and keyboard as well as an HDMI display. An excellent guide for doing this is at https://projects.raspberrypi.org/en/projects/raspberry-pi-setting-up/3
Again, the above walk through will help you in setting this up. Personally, I find it much easier to also hook up a network cable to the Pi so that you can get updates and software installations faster. You can do this through wireless internet, but I will be assuming we are setting up a wired environment for the remainder of the tutorial.
To start your Pi you can use the following link https://projects.raspberrypi.org/en/projects/raspberry-pi-setting-up/4 or simply put in the power plug last. You should immediately see a red and green light changing states occasionally. This indicates the Pi is alive and starting its boot.
Eventually you will be provided a menu of several operating systems you can install. I typically select the Raspbian Full (recommended) and press the Install button. Typically, this install will take 20-30 minutes.
When the software completely installs it will have a pop-up box telling you. When you press okay the Pi will reboot. After booting it will tell you that there are some things to do. Before saying next, write down the IPC address shown in the lower right-hand side of the window. You’ll use this IP address to remotely log into your Pi later in the tutorial.
After hitting next, select the appropriate localization information. You will be prompted for a few other minor things, including a password which you should change. You will also be asked for the login and password to your wireless internet. After providing this you will be prompted to update your software installation. You should always do this.
Once your software is updated (and it ran so long I did this portion overnight) you will need to restart it, so all the updates take effect. Afterward you should be able to shut down your Pi, remove the SD card and back it up using the Win32DiskImage software used earlier in these instructions.
Next, we need to proceed to set the software up so that you re3motely log in and control it. The first step is to set a few items in the Raspbarian operating system. After starting your Pi back up and letting it finish booting, you should have a pretty little background as well as a UI that allows mouse and keyboard control.
With your mouse select the Raspberry icon in the upper left of the screen and choose “Preferences” and from there “Raspberry Pi Configuration”. This should bring up a configuration screen with tabs across the top. Select the “Interface” tab. We want to enable at least SSH and VNC at this point. This will allow us to remote into the Raspberry Pi with VNC’s remote desktop software and with Putty for command line control, which we use often when working with the Pi.
You do not need either the VNC or Putty if you have a local keyboard, mouse, and monitor, but it certainly makes it easier.
Once you say okay to the configuration screen you should be ready to test Putty and VNC. Let’s start with Putty. When it starts it will look like the following:

This software should be running on your PC. In order to connect to your Raspberry Pi you need to simply provide it with the IP address for the Pi. Remember that IP address I warned you to write down earlier…. here is where it should be used by filling in the Host Name (or IP address) field with this address.
You can also get this by opening the terminal button on the Pi (the fourth button from the left at the top of the screen). When the terminal opens type “ifconfig” and scroll to the top of the report where your IP address should be. Mine was 192.158.1.230, yours will be different depending on the arrangement of your internet.
After setting the IP address above, select the Open button at the bottom of the screen. The first time you do this you may get a warning that it is possible you are not hooked up to where you should be. Normally I would say you can ignore this warning as you have never started the software on this device before.
You will next be presented a screen like below:
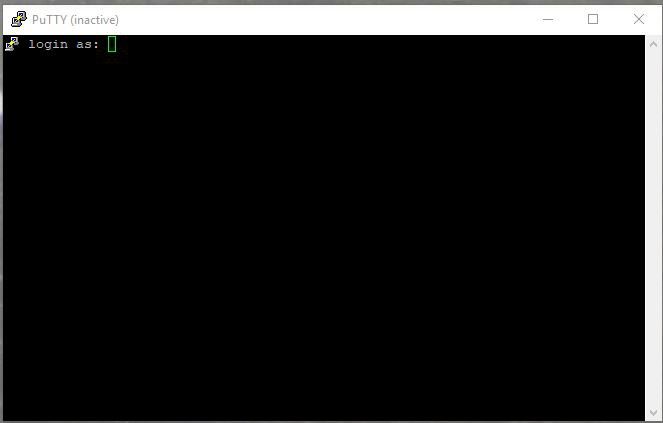
The default login for a Pi is oddly enough “pi” without the quotes and the default password is…. you guessed it “raspberry”. Now you know why when starting up it wants you to immediately change the password. Remember that Linux operating systems are case sensitive so “PI” is not equal to “pi”.
So, log into the Pi. This will leave you with an empty prompt ready to go to work. We will return to this software later, but for the time being you should have it set up and running.
Next let’s start up the VNC software. It should start up and look similar to what you see below (without all of the existing connections available):
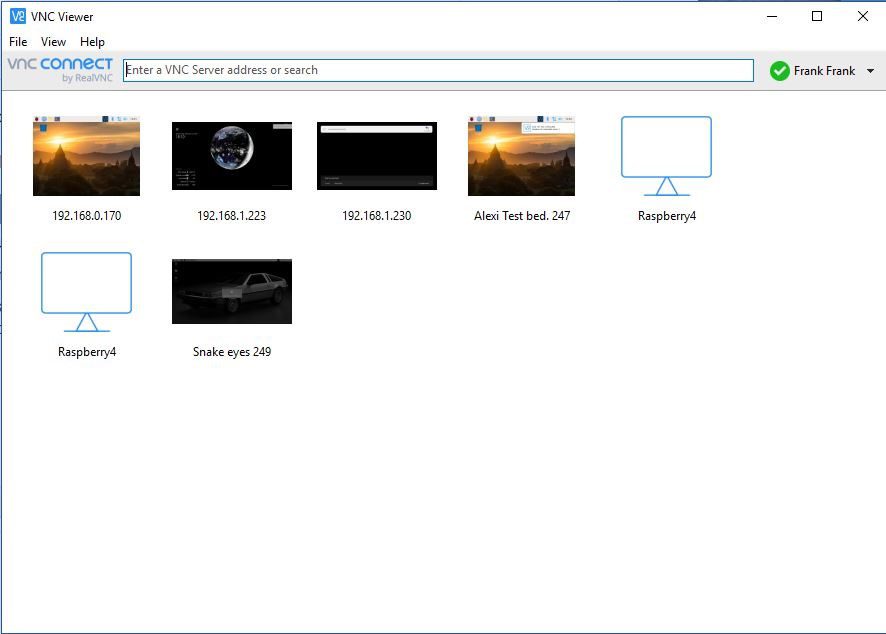
Select File from the menu and then “New connection” and enter the IP address of your Pi. Once you are back to the main screen, double click the new IP addresses icon. Like Putty, you may get a warning regarding there being a new or different operating system found. Again, normally this can be ignored. If you choose to continue you should see a replica of what is on your monitor for the Pi.
For the rest of this instruction, you can use the VNC and Putty and remove the keyboard, mouse, and monitor from the Pi if you so desire.
Our next step is to actually install the Magic Mirror software. In depth instruction on how this is done can also be found at the link: https://howchoo.com/g/ntcymzbimjv/how-to-install-magic-mirror-on-your-raspberry-pi. For reference, we have covered down to about step 6 already. You should not have to update your Pi if you have followed the instructions prior to this, but to do so, enter the following in your Putty window:

Remember this process takes a long time if you choose to do it.
Now we are ready to get Magic Mirror software installed. This is really easy and should be done from a command line within your Putty window (or terminal). Type:

Doing so will start the Pi downloading and installing the Magic Mirror software and will take a few minutes.
If you are asked to auto start the Magic Mirror, say yes. Likewise, if you are asked if you want to disable the screensaver, this would be advisable (a magic mirror makes no sense if it goes to sleep).
If all goes well, when the installation is finished, you should be able to see the Magic Mirror in its default state on the Magic Mirror monitor (or through VNC).
Ta da!


")

")